Data Capture Functions Supporting the Aceinna Navigation Studio
Capturing, Displaying, and Saving Data Using the Aceinna Navigation Studio
With the following complete:
- Serial output-message created and running on the OpenIMU hardware
- The message description added to openimu.json
- python-openimu installed on your system
you are now ready to collect IMU data.
OpenIMU Server
To capture data using the Aceinna Navigation Studio, the first step is to start the python-based server that will capture the serial data streaming over the COM port. This can be done by sending the following command at a terminal prompt from the python-openimu folder:
python commands.py
This initiates a search for the OpenIMU device on the machine’s COM ports. When detected, the terminal returns a message similar to the following:
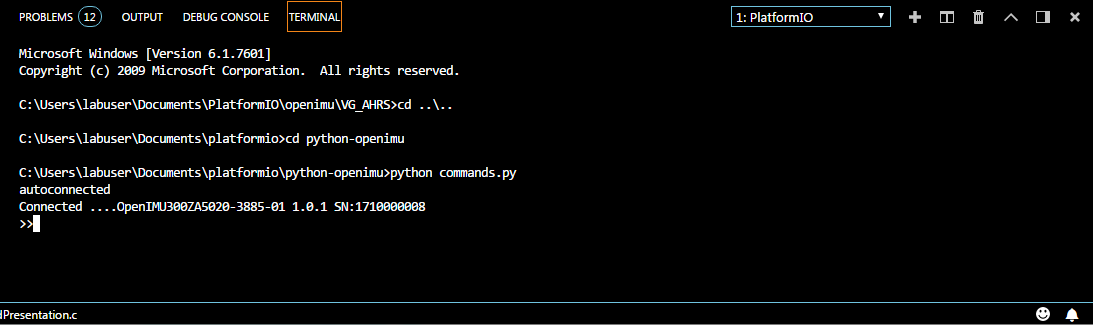
Server-Connection Message at the Terminal Prompt
Once connected to the IMU type ‘start_server’ to start the server. More instructions on the Python driver are found here
Connect to Aceinna Navigation Studio
To capture and display data on the Aceinna Navigation Studio, open a browser to https://developers.aceinna.com and log in. From the menu on the left, select Devices and Connect. The following will appear if connected properly:
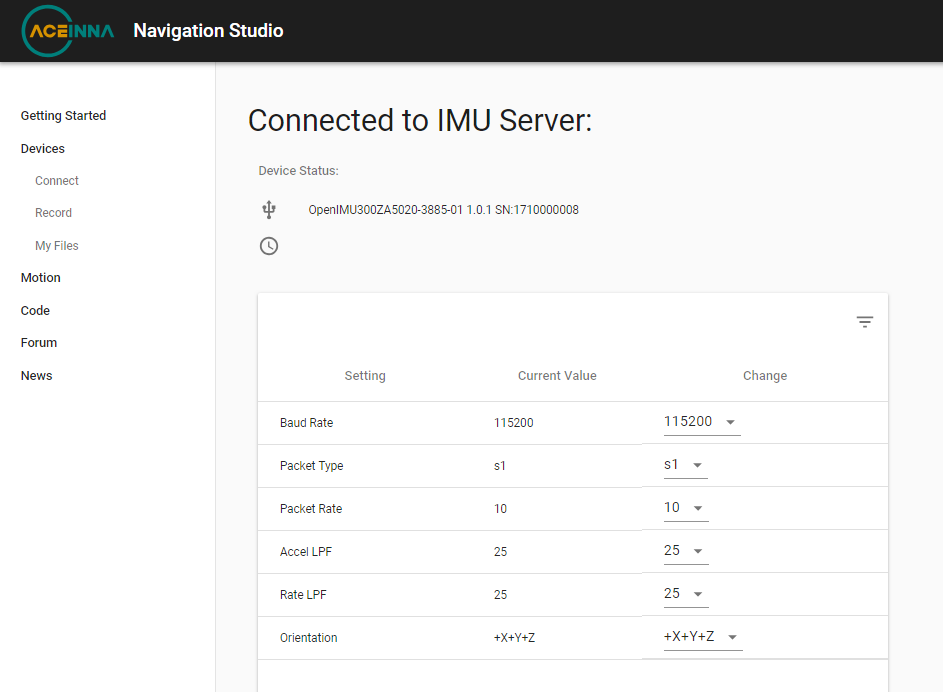
Connection to IMU Server
If desired, the packet output rate and other settings can be changed here.
After connecting to the OpenIMU device, the terminal reflects this by displaying the configuration of the unit:
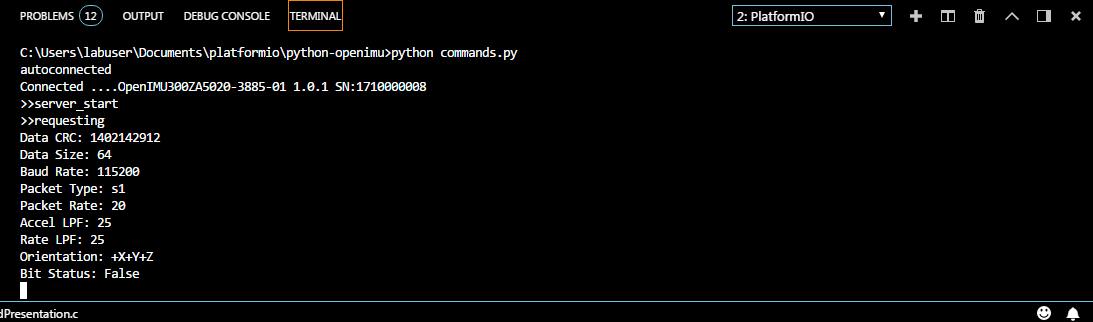
Server-Connection Message at the Terminal Prompt
Displaying Data
For a live display of data from the device, select the Record menu then click on the Play button. An example capture of the accelerometer data follows:
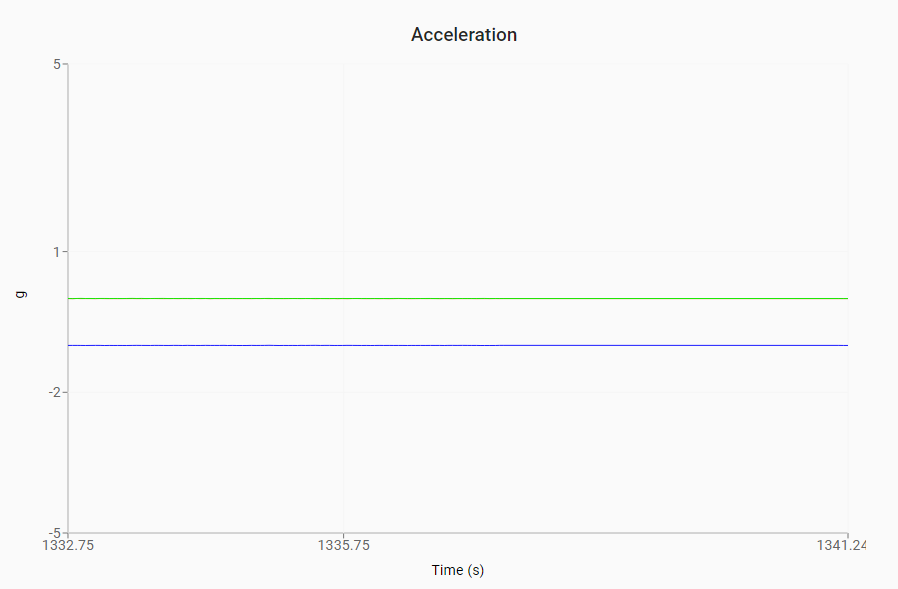
Plot of IMU Accelerometer Data
Logging Data
To log data select the Log Control switch. The output file consists of data found in the serial message. In particular the message consists of:
- Time (in counts and seconds)
- Accelerometer data (in \([g]\))
- Rate-Sensor data (in [°/s])
- Magnetometer data (in \([G]\))
- Board-Temperature data (in [°C])
The following figure shows the contents of the captured data file, indicating that all selected data are saved as intended.

IMU Angle Data File